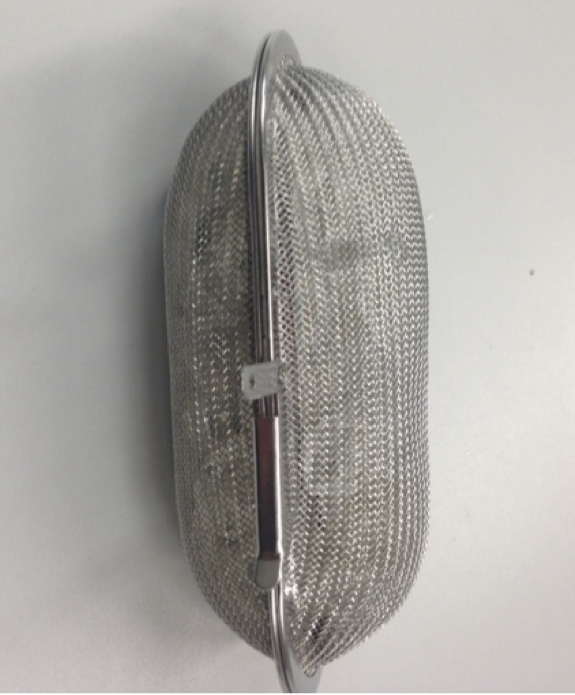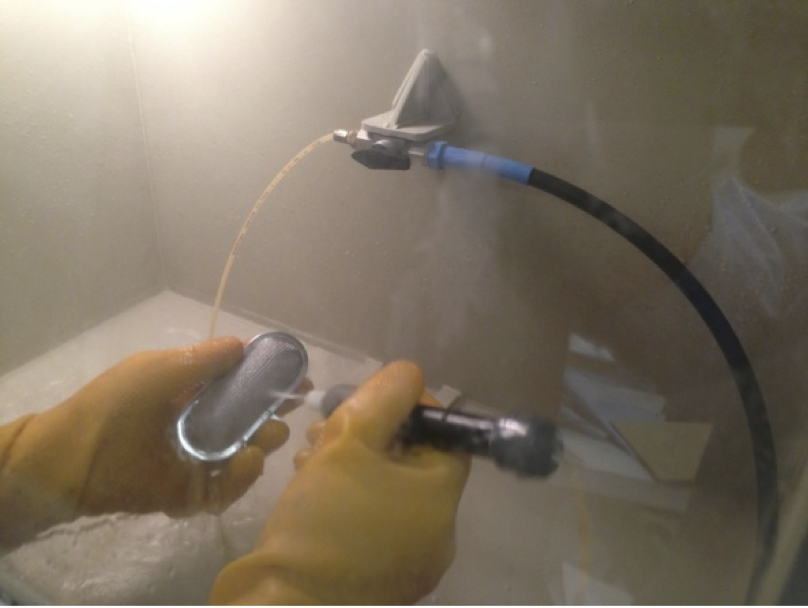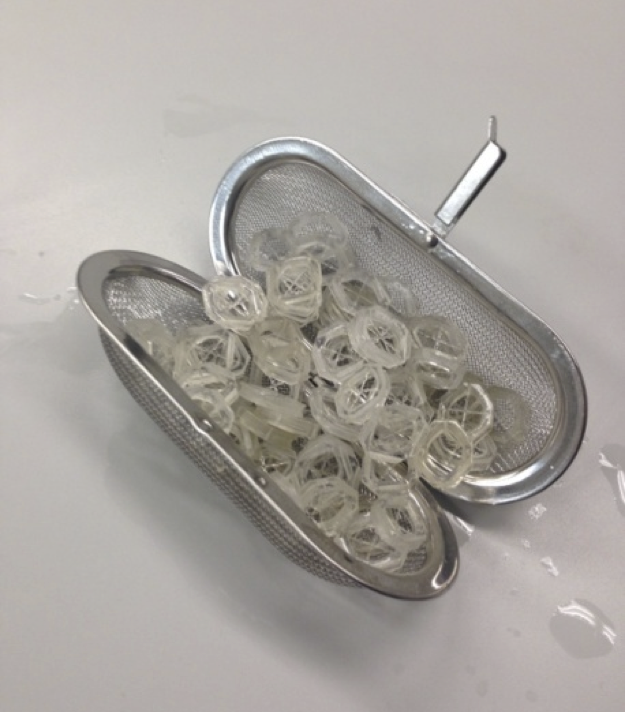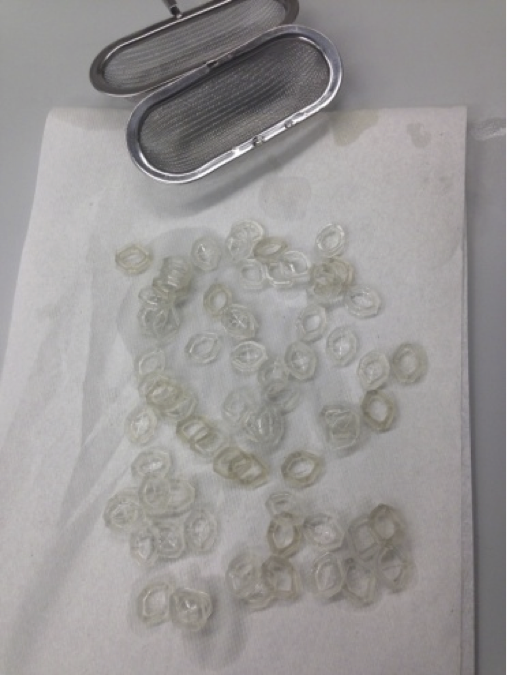
All components were designed in CAD software (AutoDesk Inventor). We have commonly manufactured RIVETS chambers using two types of 3D printer resin, VeroClear FullCure810 and VeroWhitePlus FullCure835 with a flexural strength of 75–110 Megapascal (MPa) tensile strength 50–65 MPa and print layer resolution of 16 um. Earlier fabrications were performed with a 720 full cure PolyJet resin with a flexural strength of 75.8 Megapascal (MPa), tensile strength 60.3 MPa with comparable performance. All printing was done using a Objet Connex 350 3D rapid prototype printer. In our experience the currently available desktop 3d printers (e.g. MakerBot) were not able to achieve the necessary resolution to obtain working RIVETS systems, however, these printers are rapidly improving and thus we are hopeful that future designs will be capable of supporting applications like RIVETS.
We provide an example of an external vendor that could supply the necessary printed RIVETS (Applied Rapid Technologies) using the CAD drawings that we are making available. In most cases it is not possible to provide estimates of cost given their sensitivity to the number of devices that are ordered. However, in our experience the cost of individual RIVETS head chamber is less than $0.20 per RIVET on our inhouse 3D printer. We did receive quotes from outside print houses with prices around $5 a piece with a 100 piece order. However, we have found that for many experiments simple solutions using combinations of parts can be used in conjunction with precisely machined forks and thus obtained at substantially lower cost.
The sliding clamps and arms that support the RIVETS system have typically been machined from 316 Stainless Steel. We provided a link to the Tool & Die Company with whom we have frequently outsourced the production of the forks and clamping apparatus (Ronal Tool & Die). The cost of the fork and clamping system is comparable to the cost of a stereotaxis ($4–5 k). It is possible to print the clamps directly and provide sufficient stability for certain preparations.
